Before you begin
We’ve made a handy video guide, if you prefer video tutorials. Click the video link to check it out.
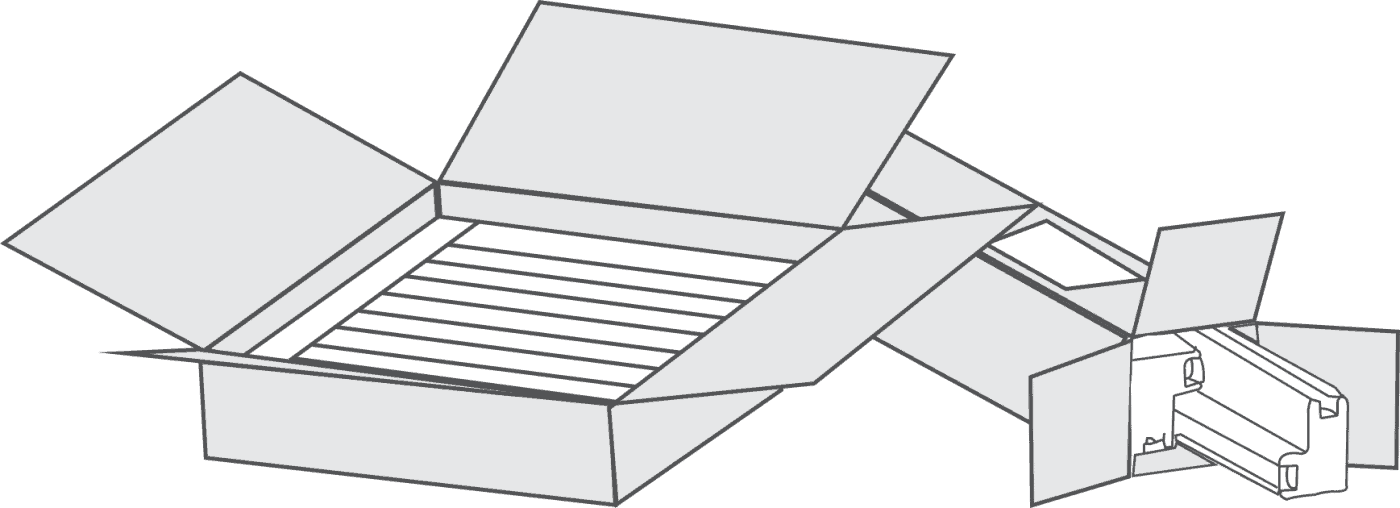
Your shutters will arrive in separate parcels. The longer and slimmer parcel will contain the sections of the frame and the flatter rectangular parcel will contain the panels.
A maximum of two panels will be packed together, so for wider sets of shutters there will be additional parcels containing the additional panels.
The fixing kit will be packed in the frame parcel.
Your fixing kit
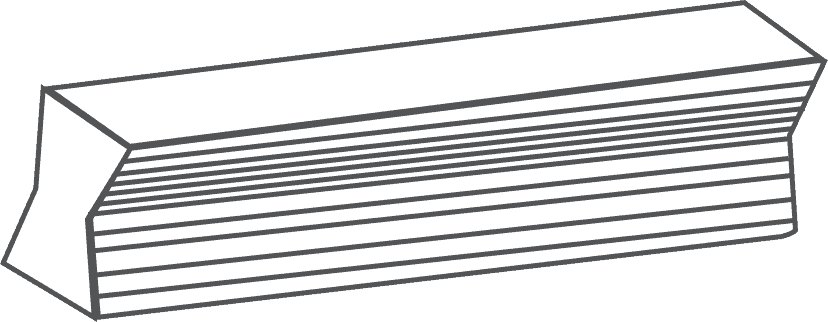
4 x Hoffman Keys

1 x 1mm Frame Packing Shim

8 x 90mm Screws

1 x 2mm Frame Packing Shim

8 x 20mm Screws

1 x 3mm Frame Packing Shim

8 x Rawl Plugs

1 x 4mm Frame Packing Shim
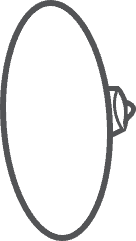
8 x Screw Covers

4 x Hinge Packing Shim
Assemble the frame
Start by unpacking all of the frame pieces, then laying them face-down.

Line up all the corners, then insert the Hoffman keys from your fittings kit to join the frames securely together. The key can be a little tight, so you may have to give it a few taps with a hammer to fully insert it.
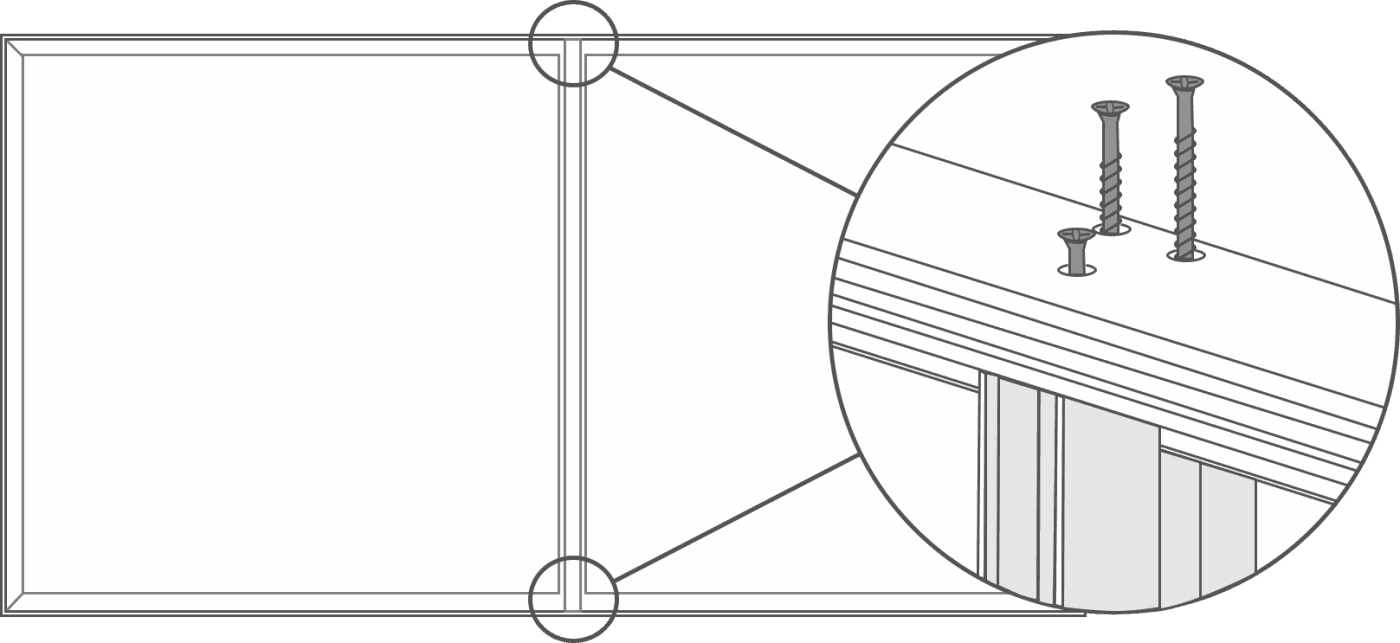
Wider shutters over 1850mm will have a ‘T-Bar’ provided with the frame.
The T-Bar is fitted vertically in the centre of the frame, providing extra support for the shutter.
To fit the T-Bar, simply slot it into place in the centre of the shutter and use 6 of the 90mm screws provided – 3 at the top of the frame and 3 at the bottom – to secure it in place. The screw holes will be pre-drilled in your shutter frame so that the T-Bar can be located correctly and easily.
Pre-drill the fixing holes in the frame
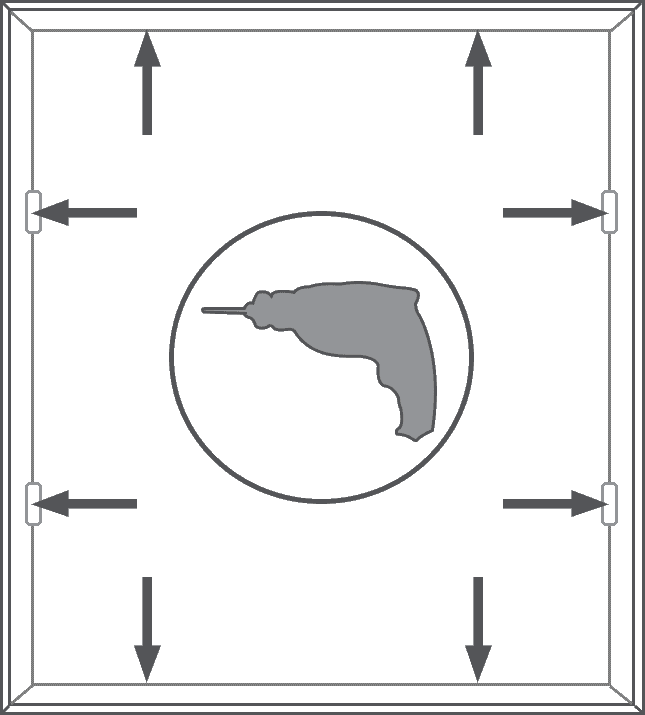
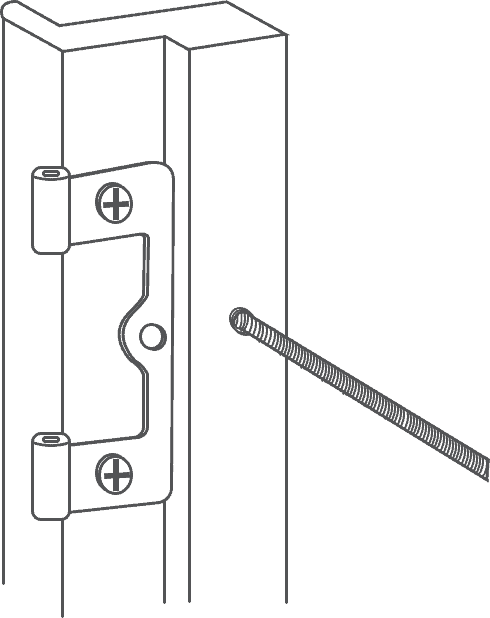
For ‘Front of Recess’ fitting, drill through the thicker section toward the back of the frame.
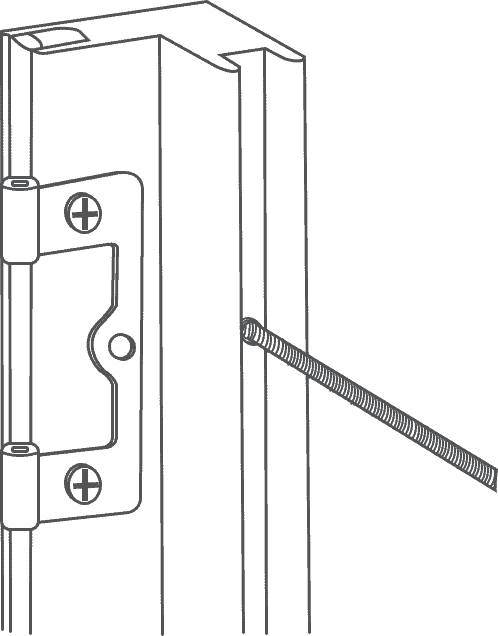
For ‘Inside Recess’ fitting, remove the decorative strip covering the channel toward the back of the frame and drill your holes inside this channel.
Ensure the frame sits level in the window
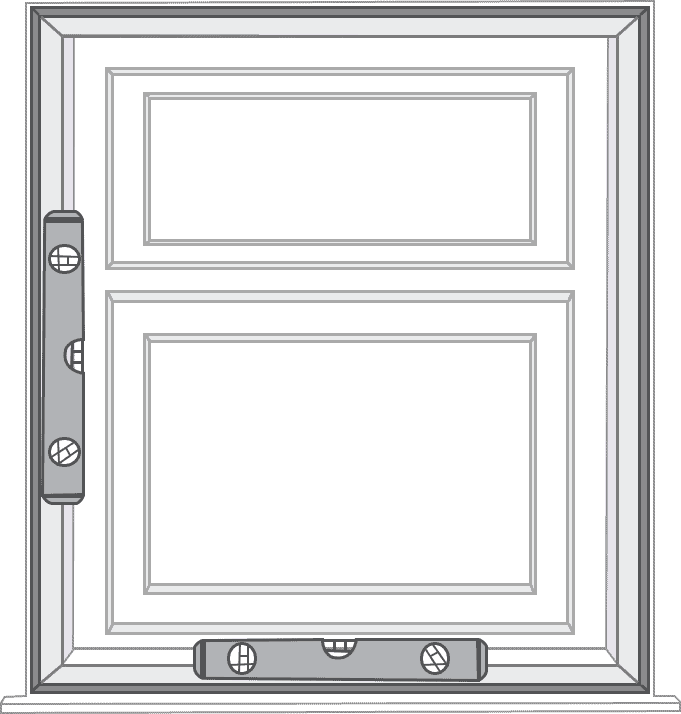
Place the assembled frame in the recess and use a spirit level to make sure that it is sitting perfectly straight on all sides.
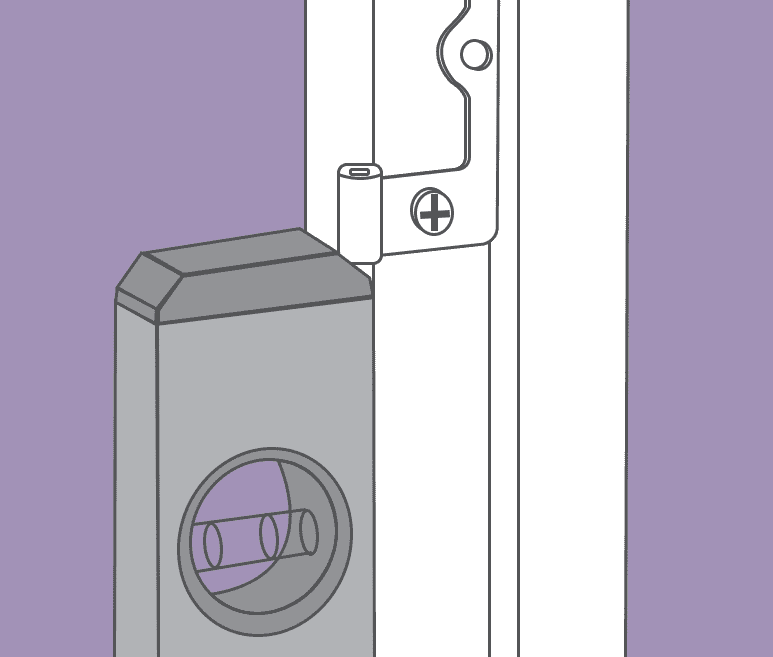
Make sure you also use the spirit level on the front of the frame, on all sides, to ensure there’s no ‘twist’ to the frame.
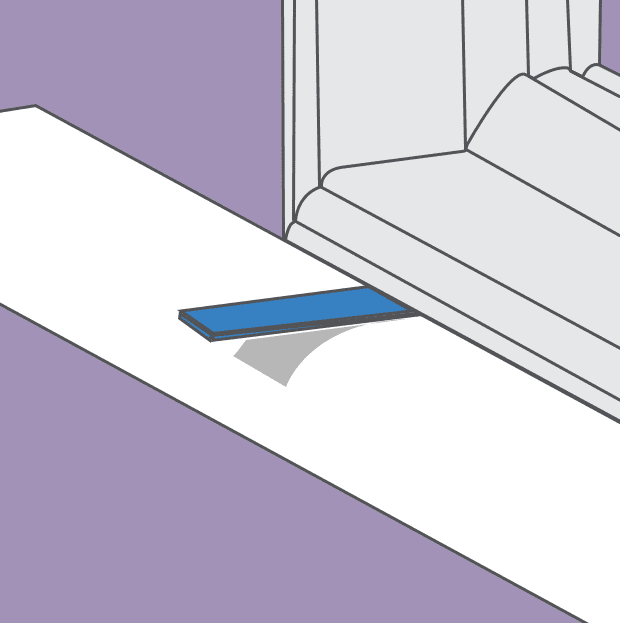
If you need to adjust the level of the frame then you can use the frame shims from your fitting kit. Fully insert the shim so that it is hidden by the frame.
Install the frame
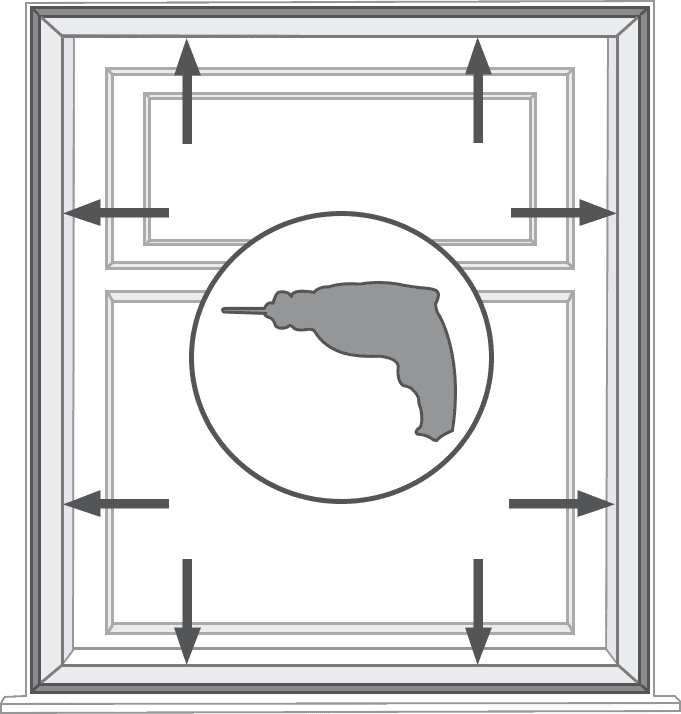
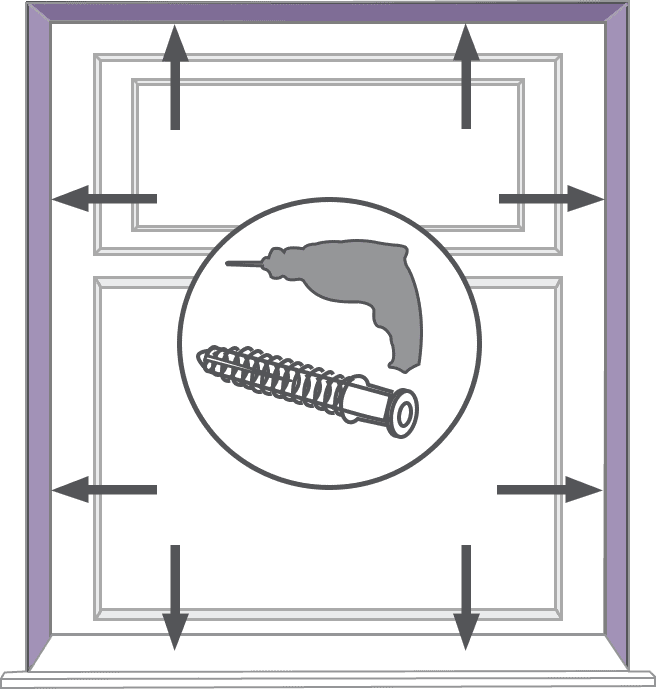
With your frame put to one side, drill the holes fully into the window recess and insert a Rawl plug into each hole
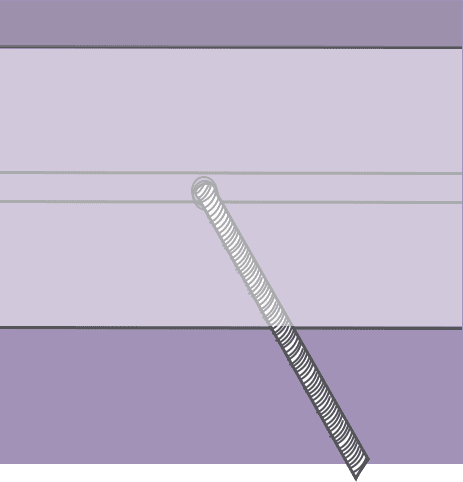
Making sure that the frame stays still and level, push the drill through each of the fixing holes you made in the frame and drill a small pilot hole in the surface you’re fixing the shutter to (the inside of the recess). Now take your frame out of the window, you should be left with shallow pilot holes all around the recess – two for each side, the top and the sill.

Top Tip
While drilling your pilot holes, be sure to keep checking your frame is straight, using your spirit level. Check the level again before drilling each pilot hole.
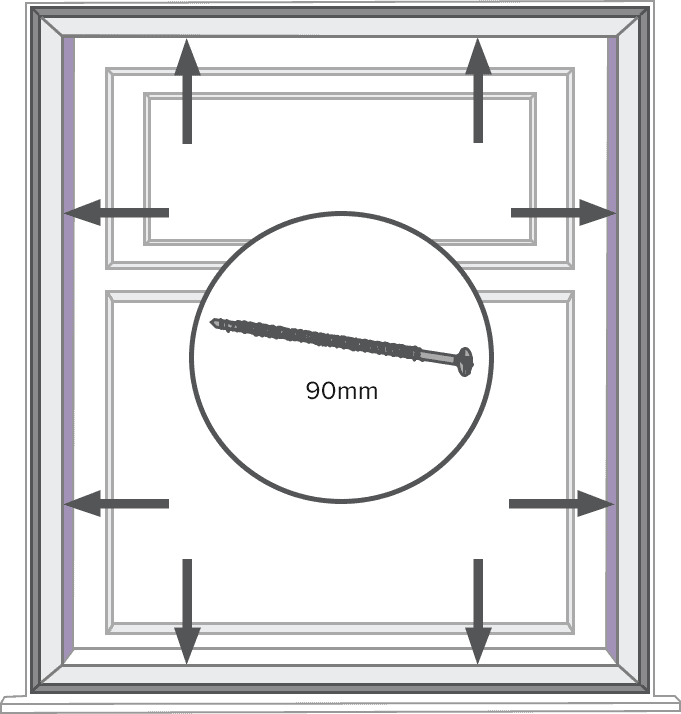
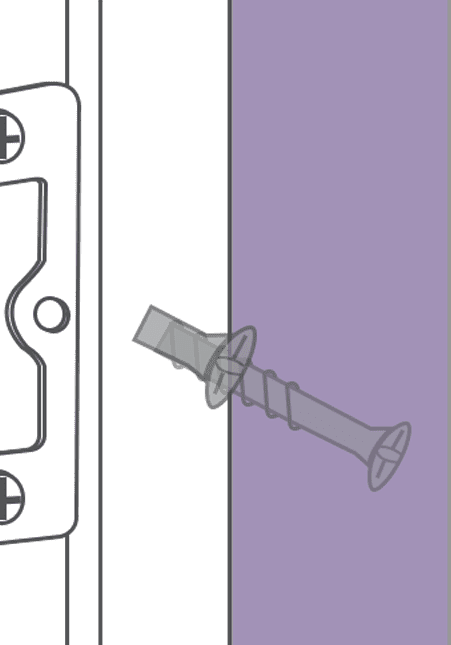
Reinsert the frame into the recess, give it another level check, then use the 90mm screws from your fixing kit to secure the frame in place.
Install the panels.
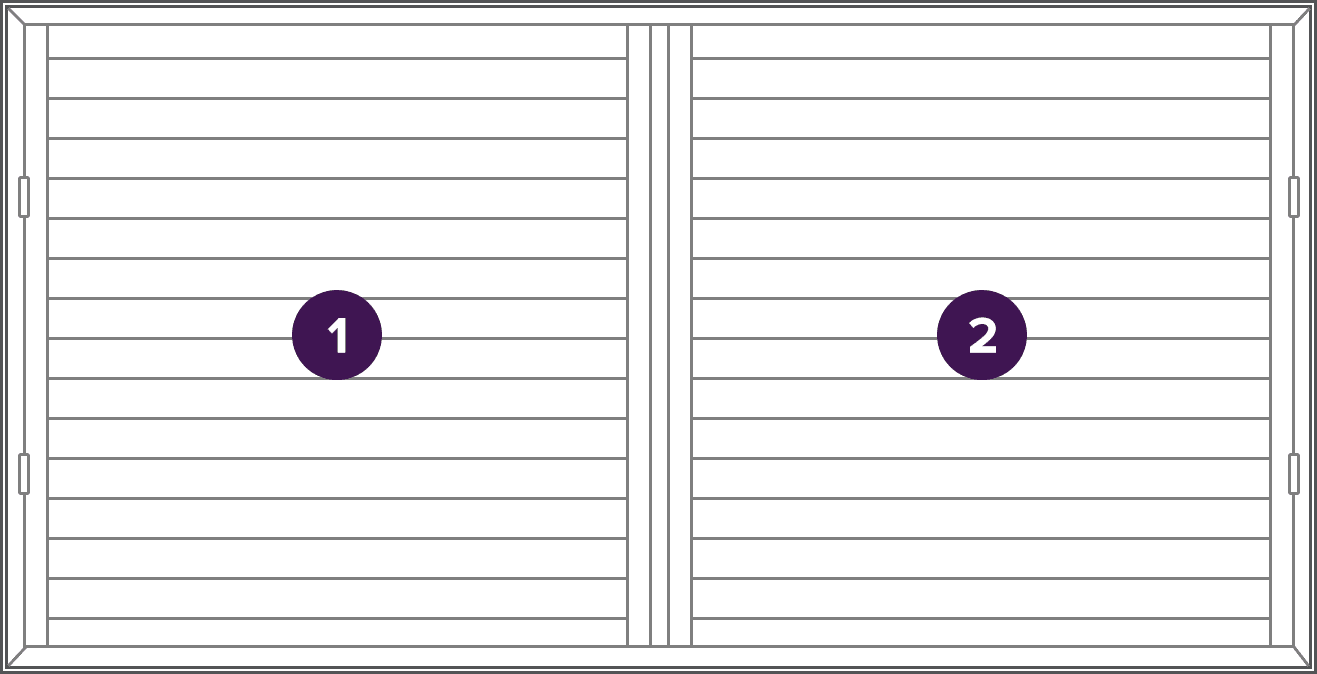
Your shutter panels are numbered in order of their position in the shutter, with panel 1 being the far left side.
Top Tip
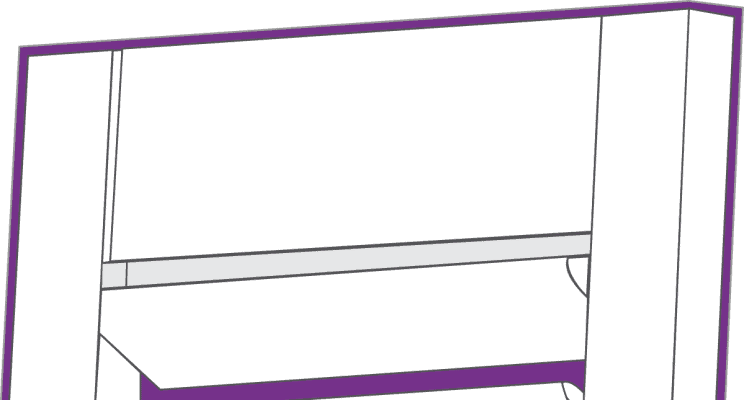
Ensure that your panels are not fitted upside down – look for the lip on the top bar of the panel, the lip should be at the back, facing you.
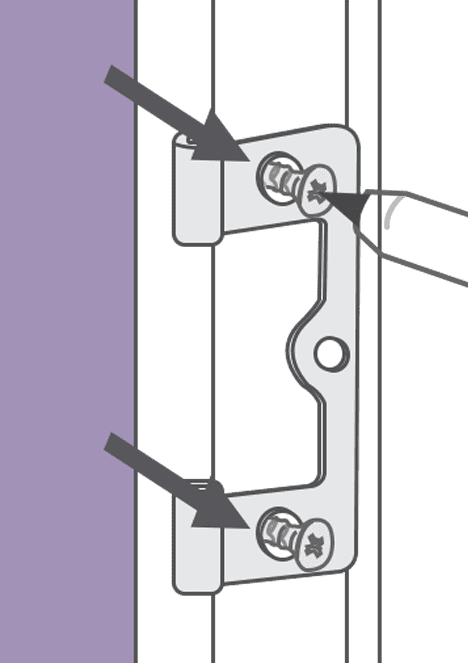
Start by loosening the frame hinges, as this will make aligning the two parts of the hinge easier (one part is fixed to the frame, the other part is fixed to the panel). This will also allow you enough room to slot the hinge pins into place.
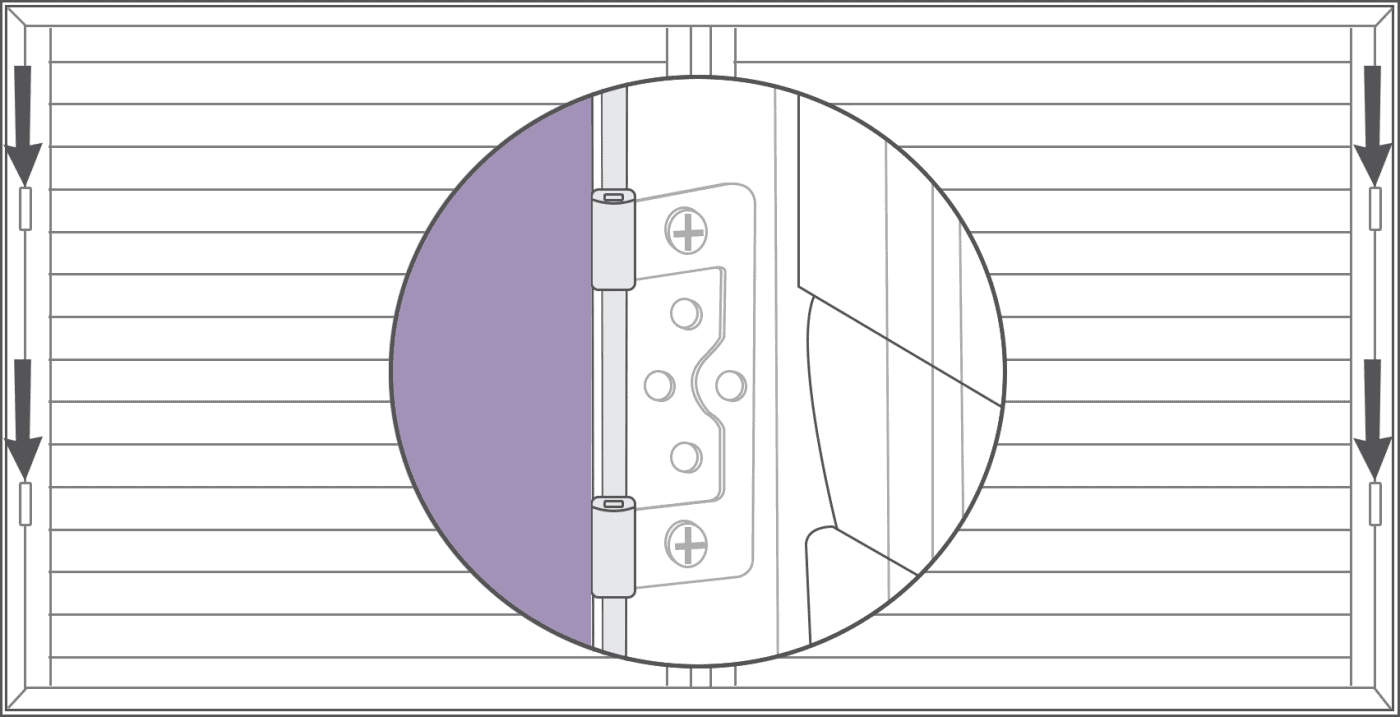
Now slot the hinge pins into place. Starting with the top hinge on each panel, align the panel part of the hinge with the frame part of the hinge, then insert the pin through the centre. If your shutter has folding panels, join these together the same way
Top Tip
The pins are intentionally a tight fit. Place a piece of cloth or cardboard over the top of the pin (to prevent it getting scratched or marked) and use a small hammer to tap it securely into place.
Fine tuning
Because no recess is perfectly square, you’ll likely find that some adjutments are required to align the panels (i.e. if one panel sits slightly higher than the other), although thorough checks with your spirit level throughout the instllation process should help to minimise the amount of fine tuning required.
Top Tip
It is normal for the panels to rest on the bottom frame of the shutter when closed, this does not require any adjustment.
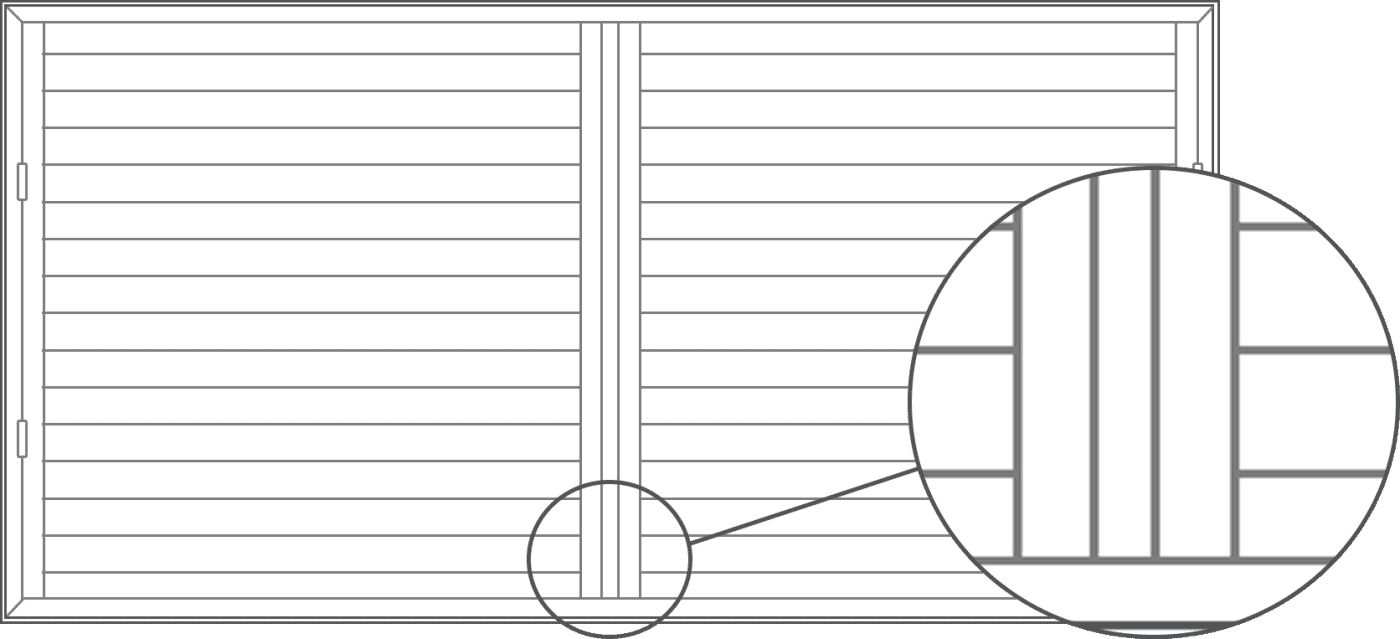
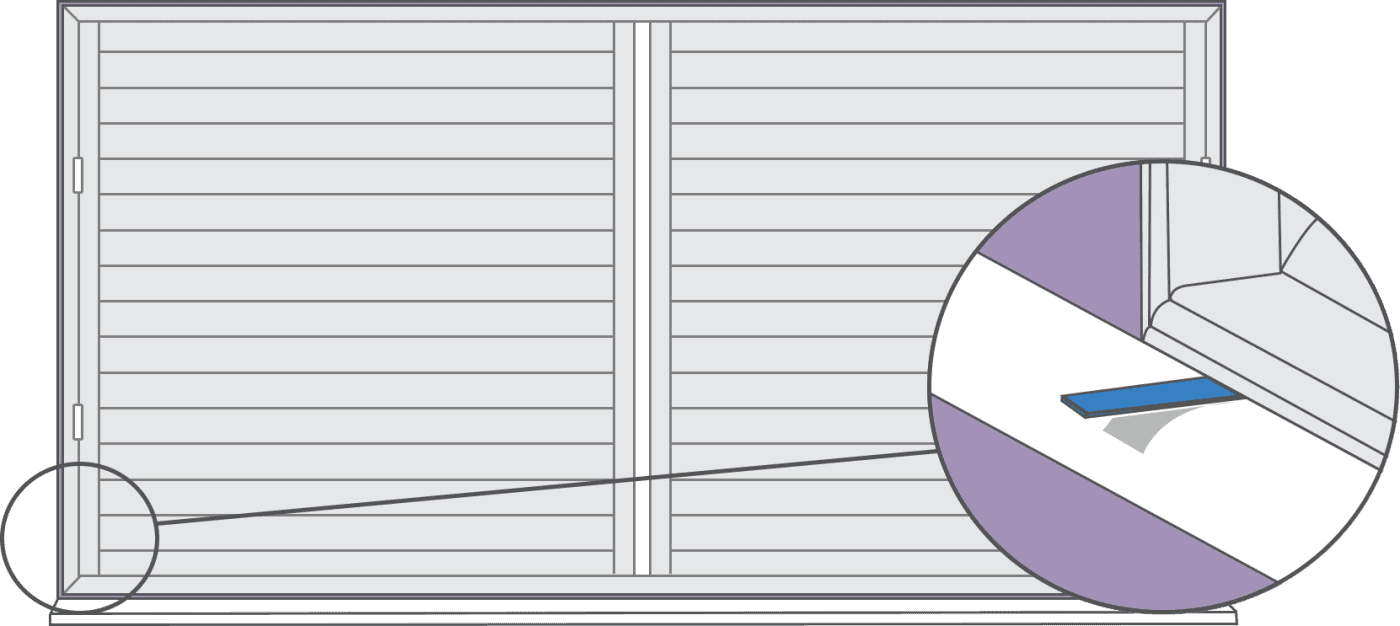
The best method for adjusting the level of the panels is actually to adjust the frame. If one panel sits higher than the other, go to the side which is sitting lowest and loosen the frame screws on that side, and along the bottom. Then insert one of the frame shims from your fixing kit to raise that side slightly. This should level out the panels.
Various sizes of frame shims are supplied to allow you to make very fine adjustments.
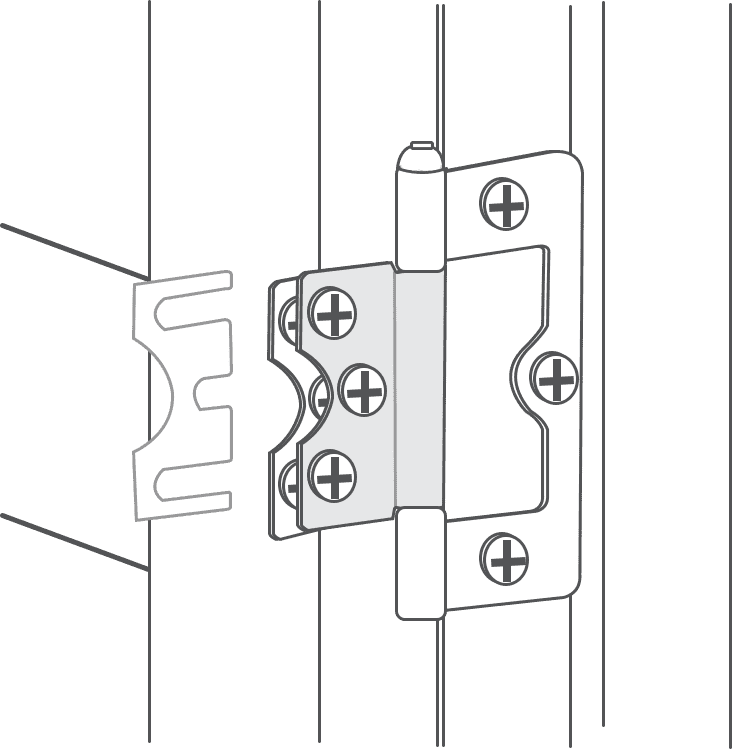
- If you’ve levelled the frame out as much as you can but the panels are still uneven, then you can use a hinge shim.
- Only use one shim, either on the highest panel hinge or the lowest.
- Use a shim at the top of the panel to lower the panel alignment, or at the bottom to raise it.
Finishing
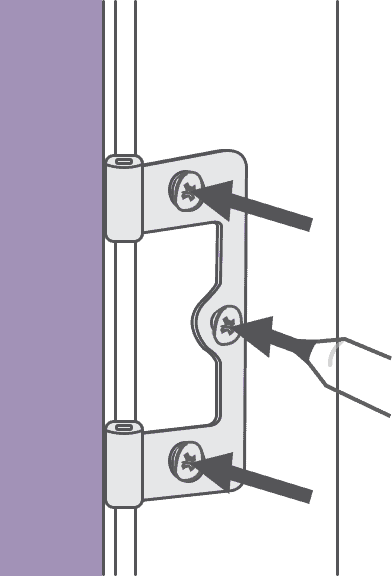
Tighten the hinge screws and insert a final screw in the centre hole for each frame hinge, to lock the hinges in place.
Finally, cover the screws you used to fix the frame inside the recess:
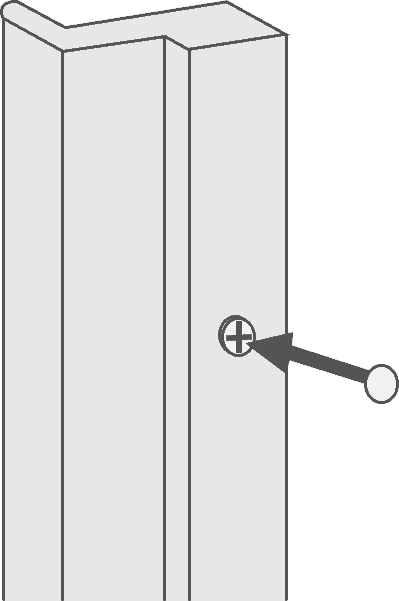
For Front of Recess frames, use the supplied screw covers to cover the screws.
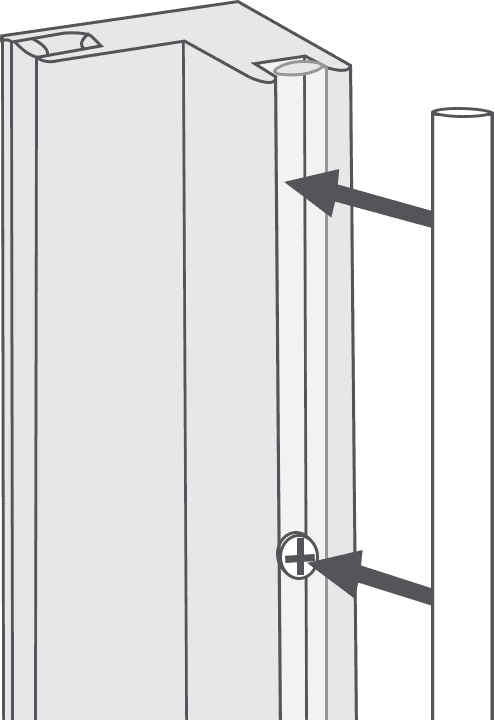
For Inside Recess frames, reinsert the decorative strips you removed in step 2.
Top Tip
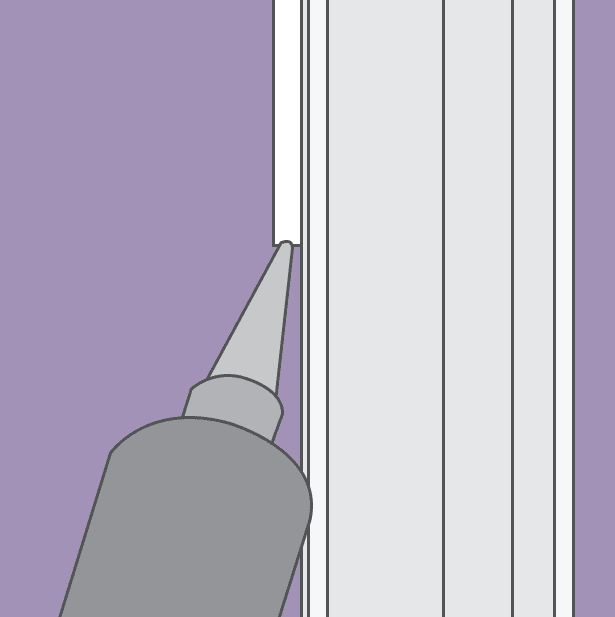
As a final finishing touch, use decorator’s caulk to fill in any gaps around the edges of the frame (usually only required for Inside Recess Frames).
